
티스토리 뷰
[1]이전에 레이아웃만 구성했던 Login프로젝트 완성하기
<Window x:Class="_033_WPFLogin.MainWindow"
        xmlns="http://schemas.microsoft.com/winfx/2006/xaml/presentation"
        xmlns:x="http://schemas.microsoft.com/winfx/2006/xaml"
        xmlns:d="http://schemas.microsoft.com/expression/blend/2008"
        xmlns:mc="http://schemas.openxmlformats.org/markup-compatibility/2006"
        xmlns:local="clr-namespace:_033_WPFLogin"
        mc:Ignorable="d"
        Title="Login" Height="340" Width="300"
        Background="SteelBlue">
  <Border Background="White" Margin="20">
    <StackPanel Margin="20">
      <TextBlock Text="Login" FontSize="20"
                 HorizontalAlignment="Center"
                 Margin="10"/>
      <Separator Background="Orange"/>
      <TextBlock Text="UserName" FontSize="16"
                 Margin="0,5"/>
      <TextBox x:Name="txtUserName" FontSize="16"/>
      <TextBlock Text="Password" FontSize="16"
                 Margin="0,5"/>
      <PasswordBox x:Name="txtPassword" FontSize="16"/>
      <Button x:Name="btnLogin" Content="로그인"
              FontSize="16" Width="100"
              Margin="10,20" Click="btnLogin_Click"/>
    </StackPanel>
  </Border>
</Window>
레이아웃은 전에 위와같이 구성해주었다.

using System;
using System.Collections.Generic;
using System.Data.SqlClient;
using System.Linq;
using System.Text;
using System.Threading.Tasks;
using System.Windows;
using System.Windows.Controls;
using System.Windows.Data;
using System.Windows.Documents;
using System.Windows.Input;
using System.Windows.Media;
using System.Windows.Media.Imaging;
using System.Windows.Navigation;
using System.Windows.Shapes;

namespace _033_WPFLogin
{

  public partial class MainWindow : Window
  {
    string connStr = @"Data Source=(LocalDB)\MSSQLLocalDB;AttachDbFilename="+"\""+@"C:\Users\choi\Desktop\VP02-master(3)\VP02-master\033_WPFLogin\Login.mdf"+"\""+@";Integrated Security=True";
    public MainWindow()
    {
      InitializeComponent();
    }

    private void btnLogin_Click(object sender, RoutedEventArgs e)
    {
      SqlConnection conn = new SqlConnection(connStr);

      conn.Open();

      string sql = string.Format("SELECT COUNT(*) FROM LoginTable "
        + "WHERE UserName='{0}' AND Password = '{1}'",
        txtUserName.Text, txtPassword.Password);

      SqlCommand comm = new SqlCommand(sql, conn);
      int count = Convert.ToInt32(comm.ExecuteScalar());

      conn.Close();

      if (count == 1)
        MessageBox.Show("Login 성공!");
      else
        MessageBox.Show("Login 실패!");
    }
  }
}
connStr의 주소에 쌍따옴표가 있는데 어떻게해야하는건지 검색을 해봐도 모르겠다..
using System.Data.SqlClient;위와같은 using문을 추가해주어야 이번 프로젝트에서 쓰일 코드들을 간결히 입력할 수 있다.
SqlConnection conn = new SqlConnection(connStr);

      conn.Open();

      string sql = string.Format("SELECT COUNT(*) FROM LoginTable "
        + "WHERE UserName='{0}' AND Password = '{1}'",
        txtUserName.Text, txtPassword.Password);
SqlConnection class의 conn을 아까 받아온 주소값(connStr)으로 설정해준다.
conn을 open해주고
string type sql을 지정하는데
SELECT COUNT(*)이건 개수를 세어주는 sql문이다.
UserName이 txtUserName.Text 와 일치하고 Password가 txtPassword.Password와
일치하는 경우를 반환하는 것으로 보인다
SqlCommand comm = new SqlCommand(sql, conn);
      int count = Convert.ToInt32(comm.ExecuteScalar());

      conn.Close();

      if (count == 1)
        MessageBox.Show("Login 성공!");
      else
        MessageBox.Show("Login 실패!");
SqlCommand classd의 comm을 방금 설정해준 sql과 conn으로 설정해준 뒤
int type count에 Int32로 convert한 comm.ExecuteScalar()값을 넣어준다.
ExecuteScalar()는 comm의 내용으로 쿼리에서 받아온 값의 1행1열을 반환하는 함수이다.
현재 1행 1열은 Id로 (1,1)의 identity를 가진다. identity의 (first,second)는 {
first = 첫번째 시행 값
second = 는 증가값을 의미한다.
고로 시작값은 1 증가값도 1이니
ValueID는 1,2,3,4,5... 순으로 진행되는 셈이다.
}
고로, 위에서 일치하는 경우를 받아왔으니 id의 시작값인 1을 반환하게 될 것이다.
그럼 Login성공을 띄운다.
반대로 일치하는 경우가 없어 ExecuteScalar()의 값이 1을 가지지 않는 경우 Login실패를 띄운다.
#nvarchar은 가변 유니코드 문자열이다(다국어지원으로 한국어를 사용하기 위해 지정해줌#
Textbox가 아닌 PasswordBox를 사용했기 때문에 입력 시 검은 구로 대체된다.
[2] chart
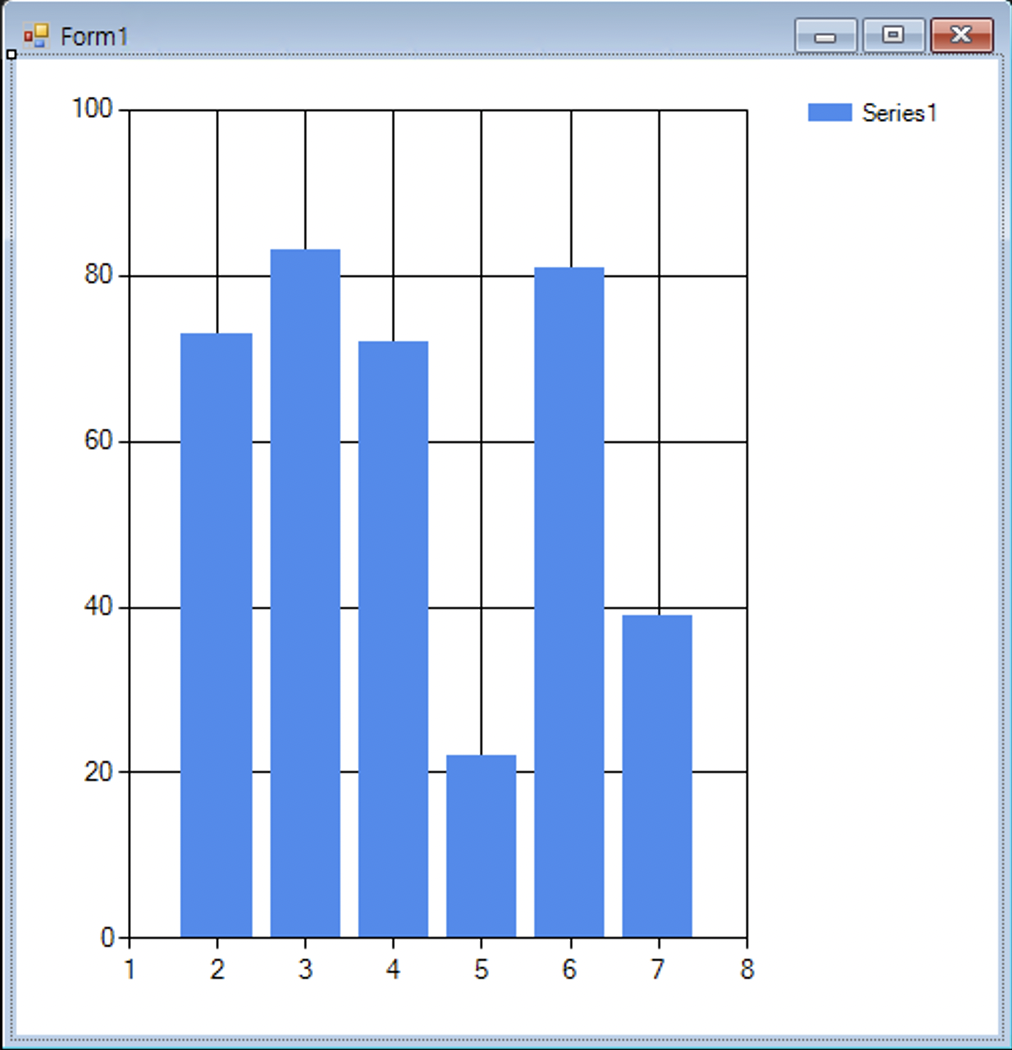
오랜만에 WindowsFormApp으로 프로젝트를 만들어 보았다.
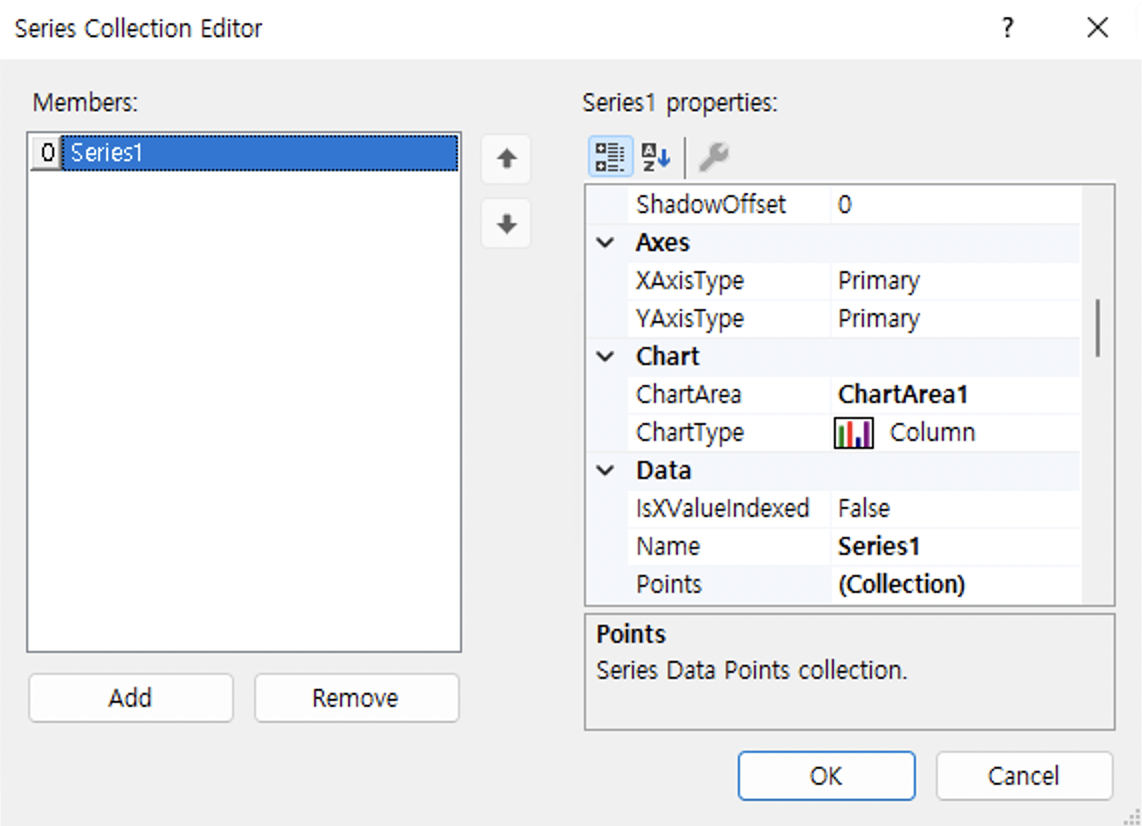
우선 프로퍼티엔 series1이 있는 상태이다.
namespace _035_Chart
{
  public partial class Form1 : Form
  {
    public Form1()
    {
      InitializeComponent();
    }

    private void Form1_Load(object sender, EventArgs e)
    {
      Random r = new Random();
      chart1.Titles.Add("중간고사 성적");
      for (int i = 0; i < 10; i++)
        chart1.Series["Series1"].Points.Add(r.Next(100));

      chart1.Series["Series1"].LegendText = "비주얼프로그래밍";
      chart1.Series["Series1"].ChartType = SeriesChartType.Pie;
    }
  }
}
Random r을 설정하고
chart1의 타이틀에 중간고사 성적을 입력해준다.
for문을 10번 돌려
chart1의 series중 series1의 point를 랜덤 0~100으로 설정해준다.
방금 설정한 series1 case[i]의 범례(legend)를 비주얼프로그래밍 으로 설정한다.
그리고 charttype을 piechart로 설정하여 원 형태의 차트가 나오도록 한다.
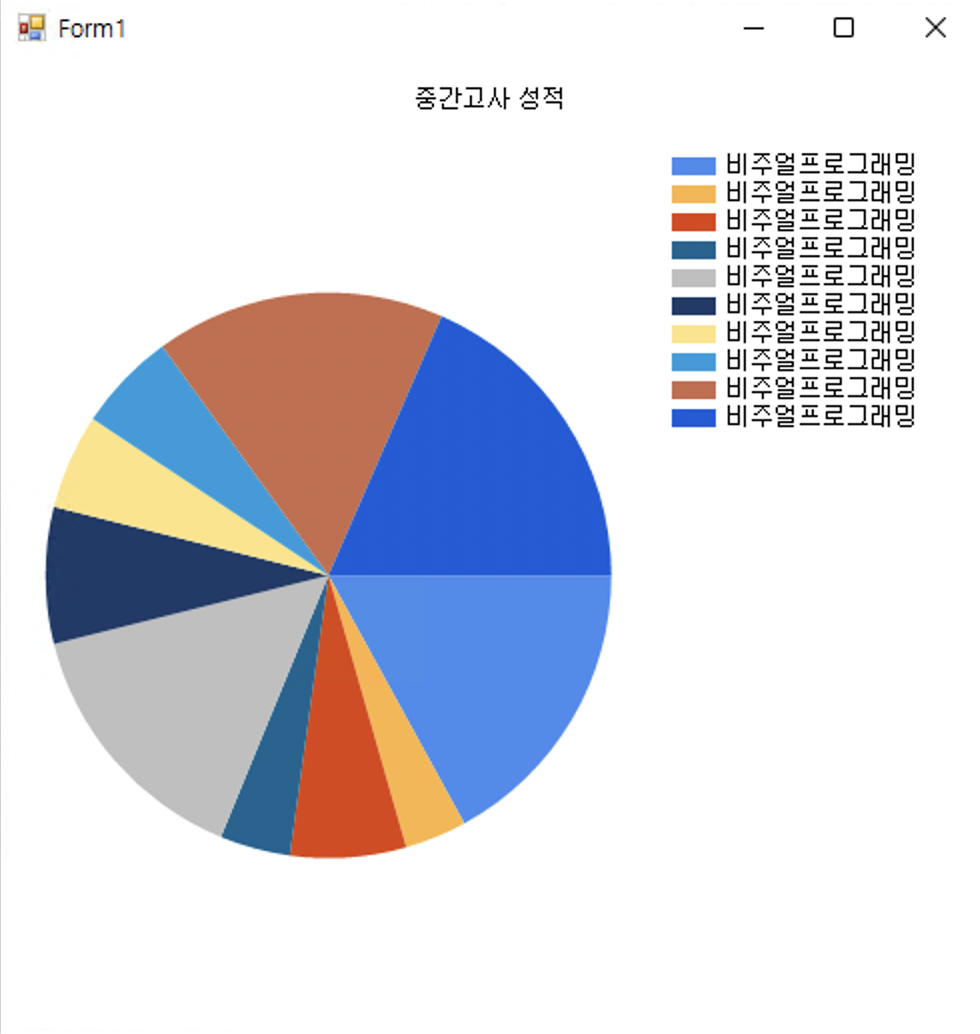
위와같은 결과가 나오게된다.
[3]chart2
namespace _036_TwoCharts
{
  public partial class Form1 : Form
  {
    public Form1()
    {
      InitializeComponent();
      this.Text = "Using Chart Control";
    }

    private void Form1_Load(object sender, EventArgs e)
    {
      ch1.Titles.Add("중간고사");
      ch1.Series.Add("Series2");
      ch1.Series["Series1"].LegendText = "수학";
      ch1.Series["Series2"].LegendText = "영어";

      ch1.ChartAreas.Add("ChartArea2");
      ch1.Series["Series2"].ChartArea = "ChartArea2";

      Random r = new Random();
      for(int i=0; i<10; i++)
      {
        ch1.Series["Series1"].Points.AddXY(i, r.Next(100));
        ch1.Series["Series2"].Points.AddXY(i, r.Next(100));
      }
    }

    private void btnOneChart_Click(object sender, EventArgs e)
    {
      ch1.ChartAreas.RemoveAt(ch1.ChartAreas.IndexOf("ChartArea2"));
      ch1.Series["Series2"].ChartArea = "ChartArea1";
    }

    private void btnTwoChart_Click(object sender, EventArgs e)
    {
      ch1.ChartAreas.Add("ChartArea2");
      ch1.Series["Series2"].ChartArea = "ChartArea2";
    }
  }
}
차트 하나를 버튼의 이벤트에 따라 분리하거나 합치는 프로젝트이다.
폼의 타이틀을 using chart control 으로 설정해주었다.
ch1.Titles.Add("중간고사");
      ch1.Series.Add("Series2");
      ch1.Series["Series1"].LegendText = "수학";
      ch1.Series["Series2"].LegendText = "영어";

      ch1.ChartAreas.Add("ChartArea2");
      ch1.Series["Series2"].ChartArea = "ChartArea2";
ch1의 title을 중간고사 로 설정해주었고. (chart의 title은 차트 위쪽에 표시됨)
series두 개를 추가해주는데 범례를 series1=수학 , series2=영어 로 설정 해 주었다.
ch1에 chartarea를 추가해준다. (차트 나누기를 할 때 필요하기 때문)
series1은 chartarea1
series2는 chartarea2를 사용중이다.
Random r = new Random();
      for(int i=0; i<10; i++)
      {
        ch1.Series["Series1"].Points.AddXY(i, r.Next(100));
        ch1.Series["Series2"].Points.AddXY(i, r.Next(100));
      }
random r을 설정하여
for루프를 10번 돌리는데
series1과series2에 AddXY함수를 사용하여 x,y좌표로 사용할 double값 두개를 받아준다.
private void btnOneChart_Click(object sender, EventArgs e)
    {
      ch1.ChartAreas.RemoveAt(ch1.ChartAreas.IndexOf("ChartArea2"));
      ch1.Series["Series2"].ChartArea = "ChartArea1";
    }
하나로 합치기 버튼을 눌렀을 때의 메서드이다.
ch1의 chartarea에서 chartarea2를 삭제해준다.
그리고 ch1의 series2를 chartarea1에 병합해준다.
※여기서 chartarea2를 완전히 삭제하는 것이기 때문에 나누어그리기 버튼을 두 번 누르게 되면 삭제할 area2가 없어 팅기게된다.)
private void btnTwoChart_Click(object sender, EventArgs e)
    {
      ch1.ChartAreas.Add("ChartArea2");
      ch1.Series["Series2"].ChartArea = "ChartArea2";
    }
이번엔 나누어그리기 버튼을 클릭했을 때의 메서드이다.
ch1에 chartarea2를 추가해준다.
ch1의 series2의 chartarea를 chartarea2로 지정해준다.(area를 나눠 따로 출력하겠다는 뜻)

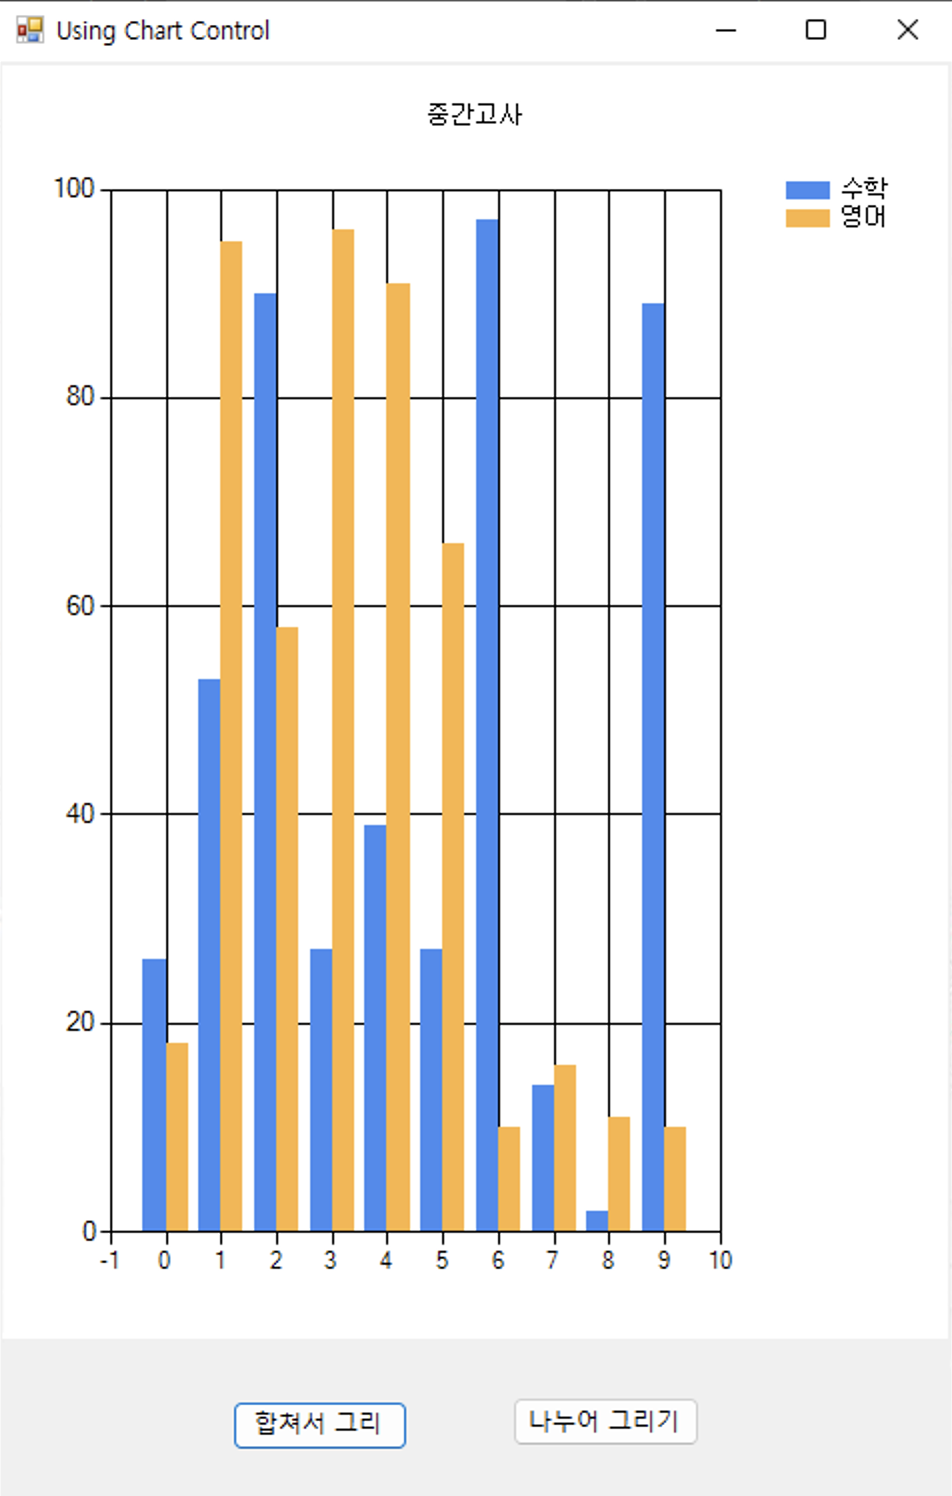
순서대로 합쳐서그리기, 나눠서그리기 버튼을 눌렀을 때의 결과이다.
(폼 로드시엔 나누어그려진 차트가 나온다.)
'VS-02분반수업' 카테고리의 다른 글
| VP(22-05-27) (0) | 2022.05.30 |
|---|---|
| VP(22-05-25) (0) | 2022.05.25 |
| VP02(22-05-13) (0) | 2022.05.17 |
| VP02(22-05-11) (0) | 2022.05.16 |
| VP(22-05-06) (0) | 2022.05.08 |